
Ollie is one of the most basic longboard tricks. It is the first step of everything, and knowing how to do it right is important if you want to step up to do more advanced and complex tricks.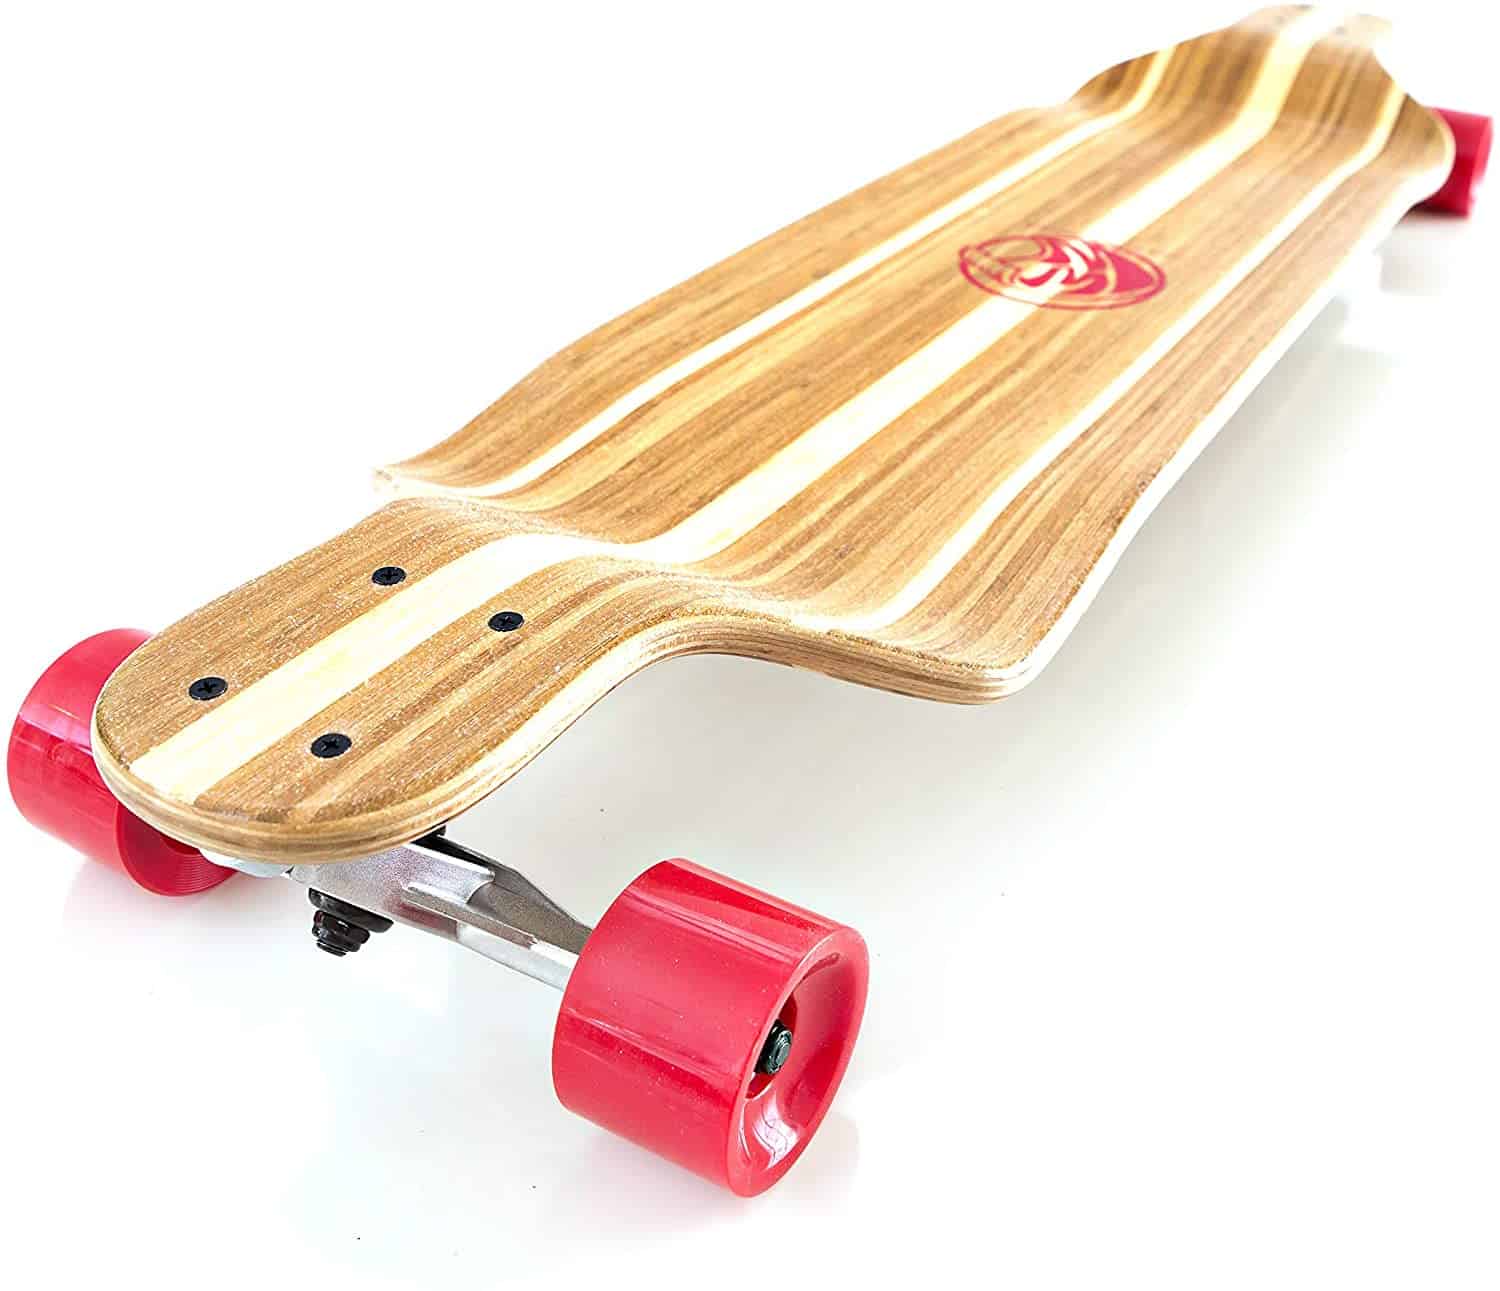
Now, the thing about an Ollie is that they look effortless and fun, and they are! But mastering the technique to execute the whole performance is a bit of a work.
However, you don’t need to look any further from here because today we are going to disclose the steps and secrets on how to Ollie on a longboard, the smart way!
Step 1: Acknowledgment and Preparation.
We always believe in the saying, “you fall, you learn”. And anyone who is an expert at longboarding knows that this sport, like it is with all sports, comes with its fair share of falls and injuries.
And to learn an Ollie, you must, first of all, prepare yourself for a few failed attempts and a lot of injuries.
We want to remind everyone to know that some of the best professional skaters and boarders in the world today, Tony Hawk, for instance, were once just as inexperienced and lost as you are now.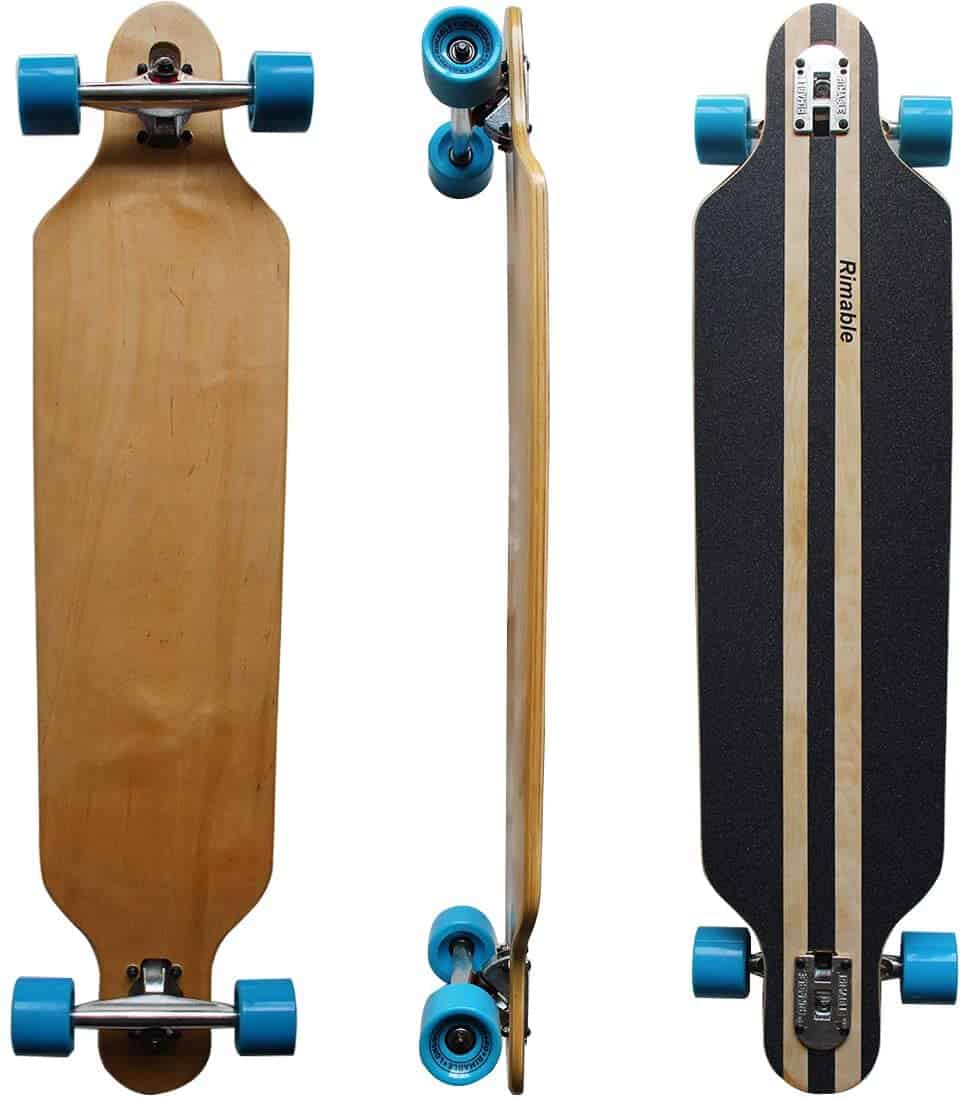
Their journey to the hall of fame once started with one single step onto the deck of their longboards. What distinguishes them from others is motivation and perseverance.
If you are a pansy snowflake, then we recommend sticking to just cruising the board instead of learning to Ollie.
Because, boy, are you going to trip and fall! The secret here is getting up and rising from a fall with a lesson each time.
So yeah, be prepared for balance and stumbling over many times, be prepared to fall face-first, and be prepared for some scratches and bruises here and there. It is all a part of the process.
But just acknowledging the pain and practicing perseverance isn’t enough. You have to stay motivated to do a better job after every failed attempt. Observe, concentrate, and execute.
Remember: Victory and defeat are something you decide in your mind before even starting a game. Hold tight.
Step 2: Understand the anatomy of the longboard.
To be able to kick out some truly amazing Ollies, you first need to understand and identify the anatomy of your longboard.
And while there are various types of it, we can still break down the construction into 2 simple parts:
Deck.
The deck is exactly what it sounds like. It is the plank body you stand on while cruising and freestyling. Before all and everything, check if the size of the deck is right for you.
You should be able to get the proper size checking from your age, weight and height, and shoe size.
However, if you don’t want to risk getting the wrong kind, then be sure to ask the sales assistant to help you find the right size of the deck for you. The deck has the tail, which is the back, and a nose, which is the front end.
It can be blunt or pointy depending on the purpose, but for executing a near-perfect Ollie, we recommend getting a wider kick, which is the elevated ends of the deck.
Kicks play a huge role in Ollie-ing, and we will cover their importance soon. We furthermore suggest looking into flat-cave decks over concave ones since they will be easier to work with in the air.
Truck.
The trucks are everything under the deck. You have 2 trucks under your board, and this construction consists of everything from axles, bolts and screws, kingpin, and of course, the wheels.
Trucks are of 2 kinds: drop-down and drop-through. A drop-down truck system will have it bolted and screwed under the deck, while the drop-through truck system will go through the board via cutouts.
For Ollie, we recommend getting a drop-through deck since they offer less height and more stability over a drop-down system.
Step 3: Step up on the board!
And then, finally, step up on your longboard! But before you start trying to pull tricks and moves, there’s something we recommend doing: try and understand your board.
No. We are not talking about you getting emotionally invested in a wooden plank, although that wouldn’t be too shabby. Neither are we implying that you are its therapist.
What we mean by understanding your longboard is that you observe and get a good feel for it. When you step on it, we suggest you pay close attention to a few details like the balance, stability, and control.
Does it wobble too much? Are the trucks too tight to let you move freely? Is the deck too narrow? Is it too wide?
The bottom line is: you need to be VERY comfortable on your longboard to be able to pull off a proper Ollie.
You can have the best, fanciest, and most expensive longboard in the world, and it still will not mean a thing if it isn’t comfortable to you. You should be very familiar with how it feels and works. Your board should almost feel like a second pair of feet.
Step 4: Proper foot position.
When it comes to pulling off an Ollie, the magic is more in the technique and the foot of the user than it is in the longboard itself. Needless to say, knowing the dos and don’ts and how to’s of foot once it is on the deck of the board is essential.
First of all, begin by establishing the right position. Put your front foot near or around the center of the deck of your boards while the back foot rests on the rear tail or rear kick.
Now let’s get the positions right. The ball of your front foot should be in sync with the deck’s center while the ball of the back foot is half hanging off the edge of the rear kick or tail.
Although these seem like very easy positions, they can take a while to come to you naturally and instantly, so practice, practice, practice! Keep in mind that this is the absolute basic guideline to foot positioning.
You can, of course, go a little outside the lines; however, going a little off the parameters will affect how your overall Ollie turns out.
For instance, the wider the distance between the 2 feet, the more intense the Ollie turnout should be. But, this is, of course, a difficult to do since it requires a lot of trial and error due to the department of stability.
Not for rookies. On the other hand, for mediocre hops, you do not need to space your feet too wide from each other. It is all in the feet, lads!
Step 5: Upper body motion.
Now that the initial footwork is out of the way, let’s move on to the role of your upper body. Yep. In an Ollie, your upper body, your weight, your force, and inertia- all matter! It’s a full-body process.
After you have positioned your feet in the right way, you need to bend and crouch. What we mean by this is that you will need your crouch your torso just enough to form and harbor a good amount of pressure onto your deck with your feet.
Now, keep in mind that you shouldn’t bend too much, nor crouch too much. The knees should bend just under 90 degrees. As for the crouch, don’t overdo it either. Keep the motions very natural and effortless.
Try to stay on the balls of your feet even while crouching. One other very important point here is your shoulders. Try and keep your shoulders level with your feet as much as possible.
That’s all for the upper body for now. When you do this, make sure that your upper body remains loose and relaxed, and not nervous and stiff. Keep your hands relaxed and wilted.
People have this reflex of lifting their hands while crouching down, so it will take some practice. The only pressure buildup should be on your legs and nowhere else.
Step 6: Jump!
Now, with your feet in positions, your knees bent, and your body crouched, you have built up enough pressure and positional energy on your feet to make the jump for your Ollie. However, there is an art and technique to the jump as well.
Don’t just jump like a frog with all legs up. This way, your feet lose all their potential energy at once, and you will land too hard, possibly hurting yourself. While jumping for your Ollie, the trick is to jump one foot at a time.
First, your front foot jumps up, and then your second foot. While the front foot is up in the air and off the deck, make sure the side of that foot brushes against the front kick.
And ideally, at the same time, your back foot will be forcing down the rear kick so that it touches the ground while the front kickflips up.
Pop is what we call the sound the back tail makes when it hits the ground after you kick it down with your back foot.
Essentially, you are forcing down the back tail with your back foot so that it flips up, and your front foot gets to brush against the front tail.
Step 7: Descend.
There is a little technique involved while you are coming down from the jump or descending.
And learning how to master this will make sure that you not only have a smoother landing, but it’s furthermore safer for you and easier on your board.
That said, when you descend from the jump of your Ollie, make sure you immediately level both your feet on your way down. This, in turn, will of course also level up the board.
To make it easier for you to understand, we want you to see your board as a straight line. When you jump in the air, your board isn’t straight and level anymore. It has an angle to it, right?
Now, here’s the thing you have to do while landing. You have to make sure that you level up your feet and therefore you board until it lands in the same straight position.
This will ensure that your body weight hits the deck more evenly while also making sure that your board doesn’t snap in half from excessive pressure and force from either foot.
One other thing you have to make sure of is that you keep the position of your feet in the same position when it lands as it was when you jumped. One in the center, the other near the rear kick.
Step 8: Practice!
And that, folks, is How to Ollie on a longboard! We must admit, an Ollie is a tough job. But it isn’t impossible.
Once you analyze and dissect the steps and technique of the entire trick, it is all apple pie from there. With hard work and perseverance, you can wow yourself.
One last tip we have for you is that you wear proper safety gear throughout practice. Referring back to our first step, there are going to be heaps of falls and injuries.
And although we want you to acknowledge that, we don’t want you to succumb to them. Put on a pair of elbow pads, knee pads, and most importantly, a helmet.
Many smart learners will even wear a pair of gloves for safety, so yeah, gear up! With all said and done, now all you have left to do is practice, practice, and practice!
Try and maintain a daily or regular routine. This will help you learn faster and better. And finally, remember, it takes years to perfect and master a proper Ollie, so be patient and stay motivated.
Best of luck, and we will see you next time. Cheers!

